There’s something deeply comforting about a warm dish of apple crisp. It smells like fall, tastes like a cozy memory, and feels like home in every bite. This old-fashioned version brings everything you love together: spiced tender apples, a golden crunchy oat topping, and a clever little sauce trick that prevents that all-too-common watery mess at the bottom. You’ll get a perfect balance of texture and flavor every single time.
This apple crisp recipe is ideal for weeknight cravings, holiday desserts, or slow Sunday baking. Whether you’re serving it with a scoop of vanilla ice cream or a drizzle of caramel sauce, it’s bound to become a favorite in your kitchen.
Table of Contents
Why This Apple Crisp Recipe is the Best
- Extra-crunchy oat topping that stays crisp long after baking
- No more watery mess thanks to a simple, foolproof secret sauce
- Perfectly tender apples that hold their shape without turning mushy
- Deep, nostalgic flavor with just the right amount of cinnamon, nutmeg, and brown sugar
- Step-by-step guidance with clear instructions that make this apple crisp recipe easy for anyone to follow
⭐️⭐️⭐️⭐️⭐️
“Eating at least one‑and‑a‑half to two cups of fruits every day can boost antioxidant activity… A medium apple contains about 80 calories and 3 grams of dietary fiber, contributing to heart‑healthy benefits.” NDSU
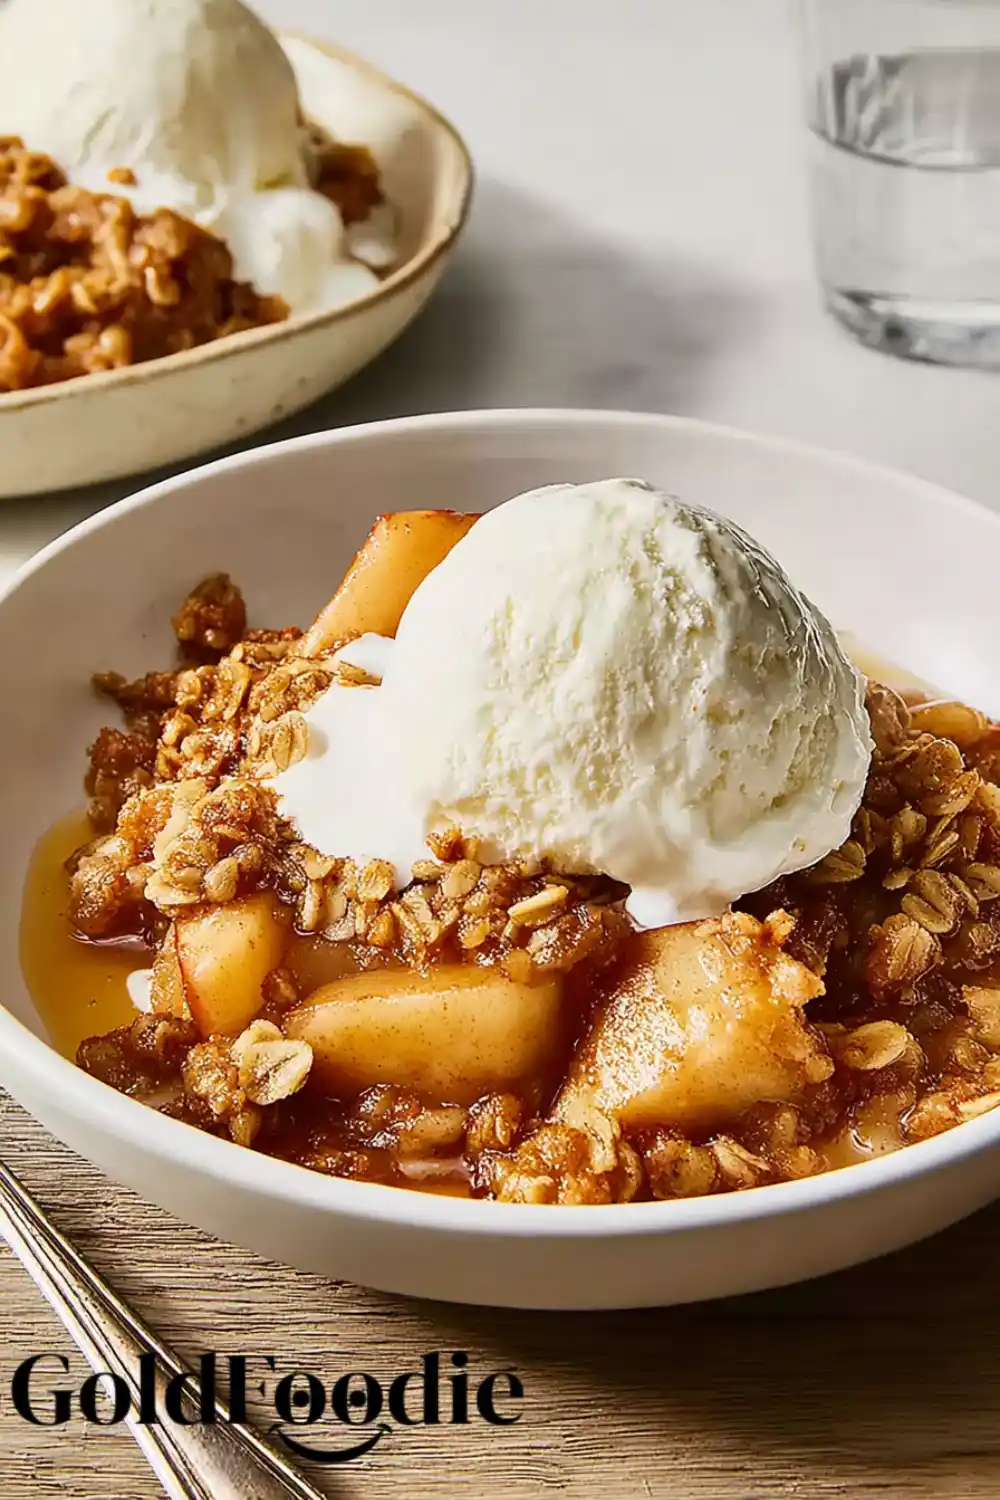
You’ll Also Love
➤ Pioneer Woman Apple Crisp
➤ Best Homemade Apple Crumble Recipe
➤ Apple Crumble Pie
Ingredients Needed
For the Apple Base:
- 10 cups apples, peeled, cored, and sliced (Granny Smith or Honeycrisp work best)
- 1 cup white sugar
- 1 tablespoon all-purpose flour
- 1 teaspoon ground cinnamon
- 3 tablespoons water
For the Crisp Topping:
- 1 cup quick oats
- 1 cup all-purpose flour
- 1 cup packed brown sugar
- 1/4 teaspoon baking powder
- 1/4 teaspoon baking soda
- 1/2 cup butter, melted
These ingredients create the perfect balance of soft apples and a crunchy oat topping, making this apple crisp truly unforgettable.
The Best Apples for Apple Crisp (A Head-to-Head Comparison)
Choosing the right apples can make or break your apple crisp. Some apples stay firm and tart while others turn soft and sweet. Below is a quick comparison to help you pick the best option for your dessert.
| Apple Variety | Flavor Profile | Texture After Baking | Best For |
| Granny Smith | Tart | Very Firm | Classic, tangy apple crisp |
| Honeycrisp | Sweet-Tart | Firm | Balanced and juicy flavor |
| Golden Delicious | Sweet | Softer | Milder, softer texture |
| Braeburn | Spicy and Sweet | Firm | Bold flavor, holds shape |
Each variety adds its own personality to the apple crisp, so you can mix and match for the flavor and texture you love most.
How to Make The Best Apple Crisp (Step-by-Step)
- Preheat your oven to 350°F so it’s ready when you are. Lightly grease a 9×13-inch baking dish to prevent sticking.
- Prepare the apples by peeling, coring, and slicing them into even pieces. This ensures they cook uniformly. Place the slices in the baking dish.
- Add the dry mix by combining the white sugar, flour, and cinnamon in a small bowl. Sprinkle this mixture evenly over the apples. It helps flavor the filling and lightly thickens the juices.
- Drizzle with water to help the sugar mixture melt into a light syrup while baking. This step contributes to the signature sauce that sets this apple crisp apart.
- Make the topping in a separate bowl. Stir together the oats, flour, brown sugar, baking powder, and baking soda. Pour in the melted butter and mix gently until it forms coarse, crumbly clumps.
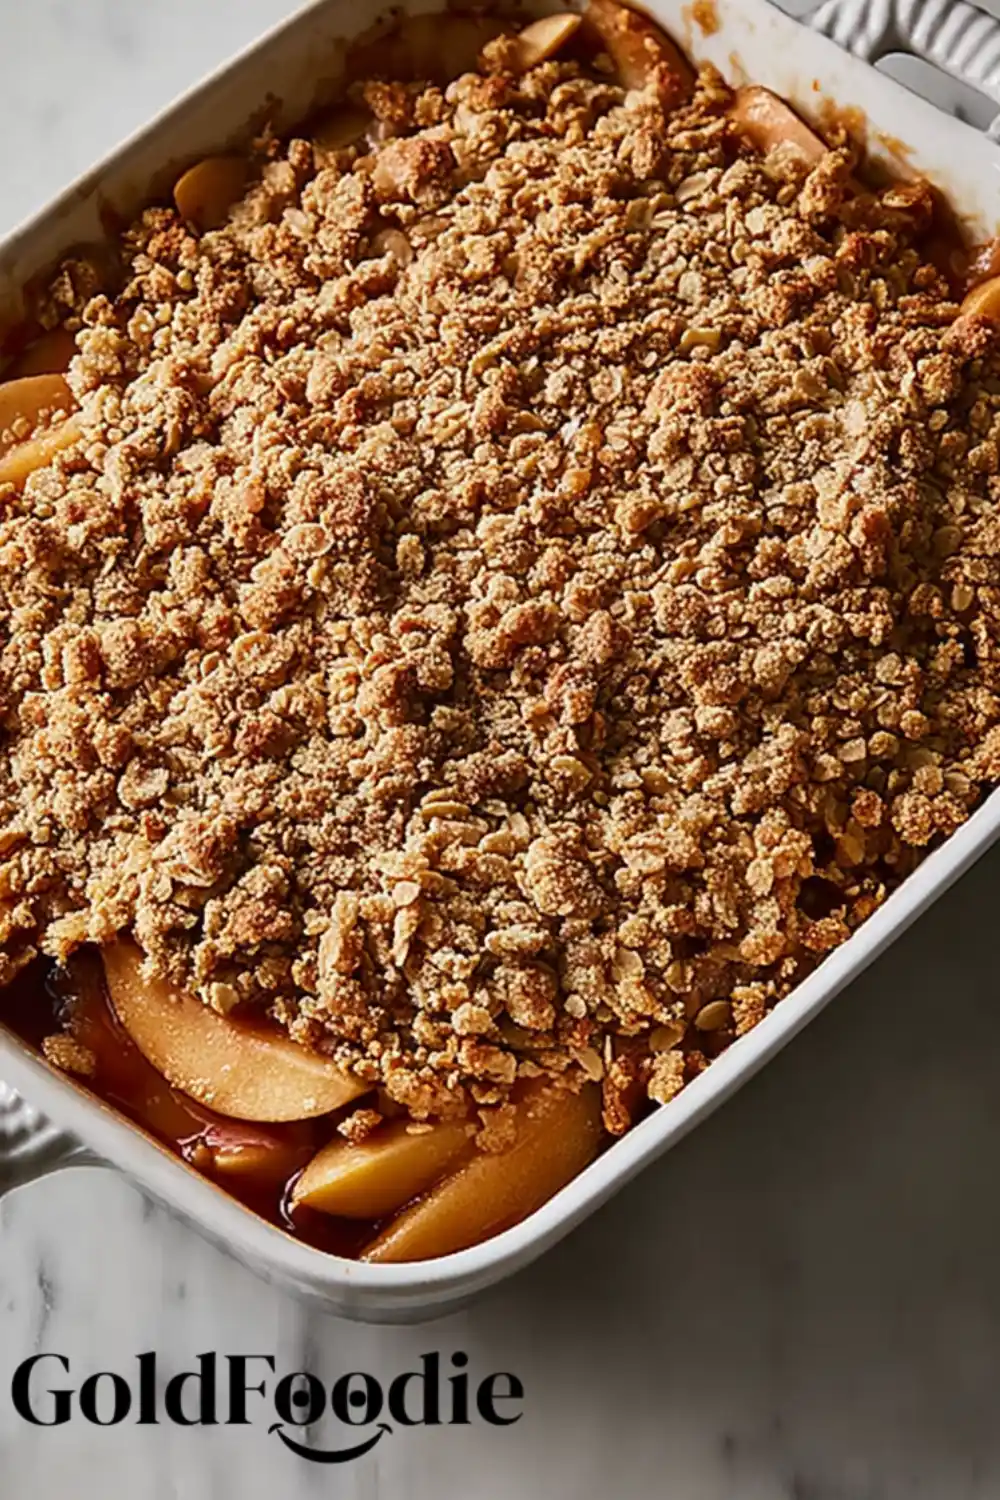
- Cover the apples by spreading the oat topping evenly over the entire surface. Do not press it down too firmly. Keeping the texture loose helps it crisp up nicely.
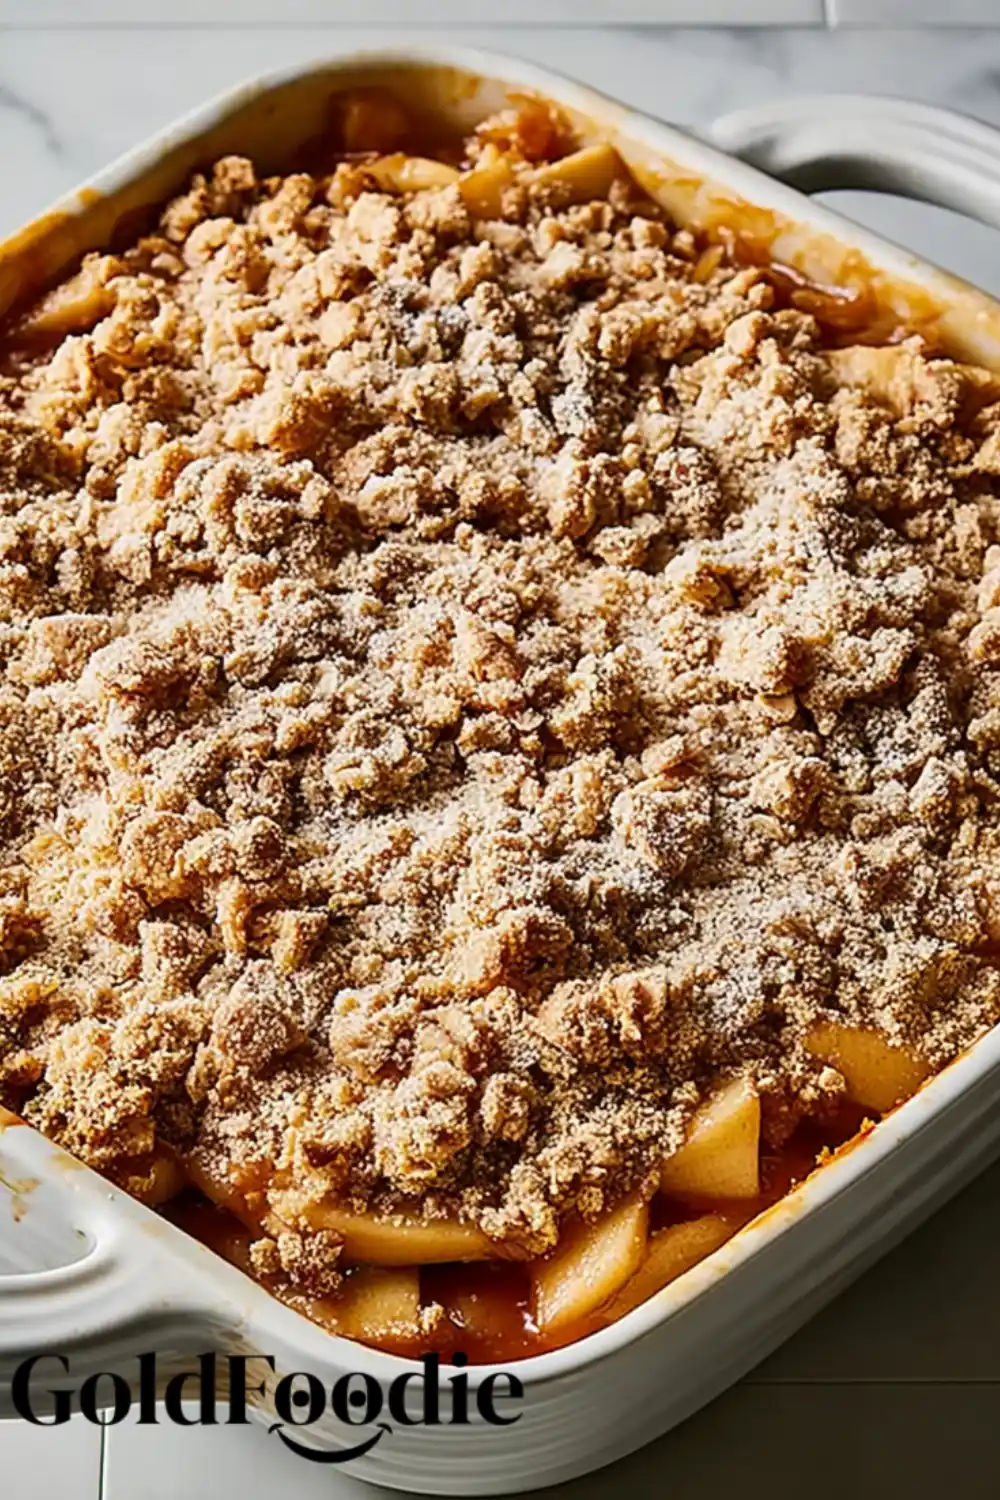
- Bake uncovered for 40 to 45 minutes or until the topping is golden and the apple mixture is bubbling. If the topping browns too quickly, you can lightly tent the dish with foil during the final minutes.
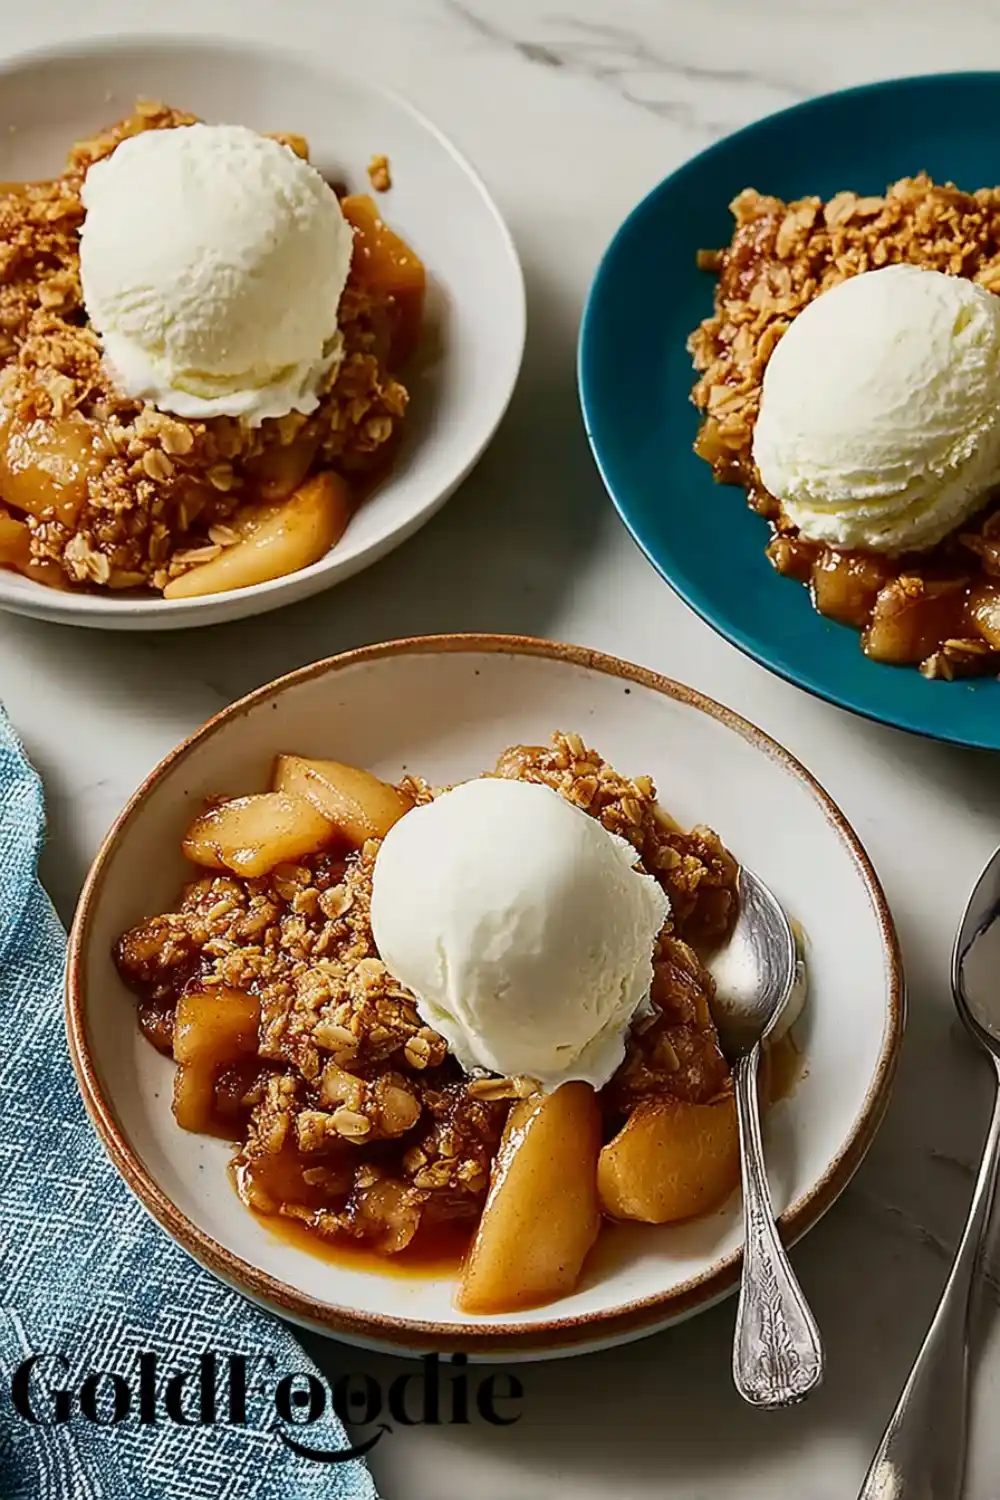
Let the apple crisp cool for at least 15 minutes before serving. This allows the filling to set and makes it easier to serve perfect slices.
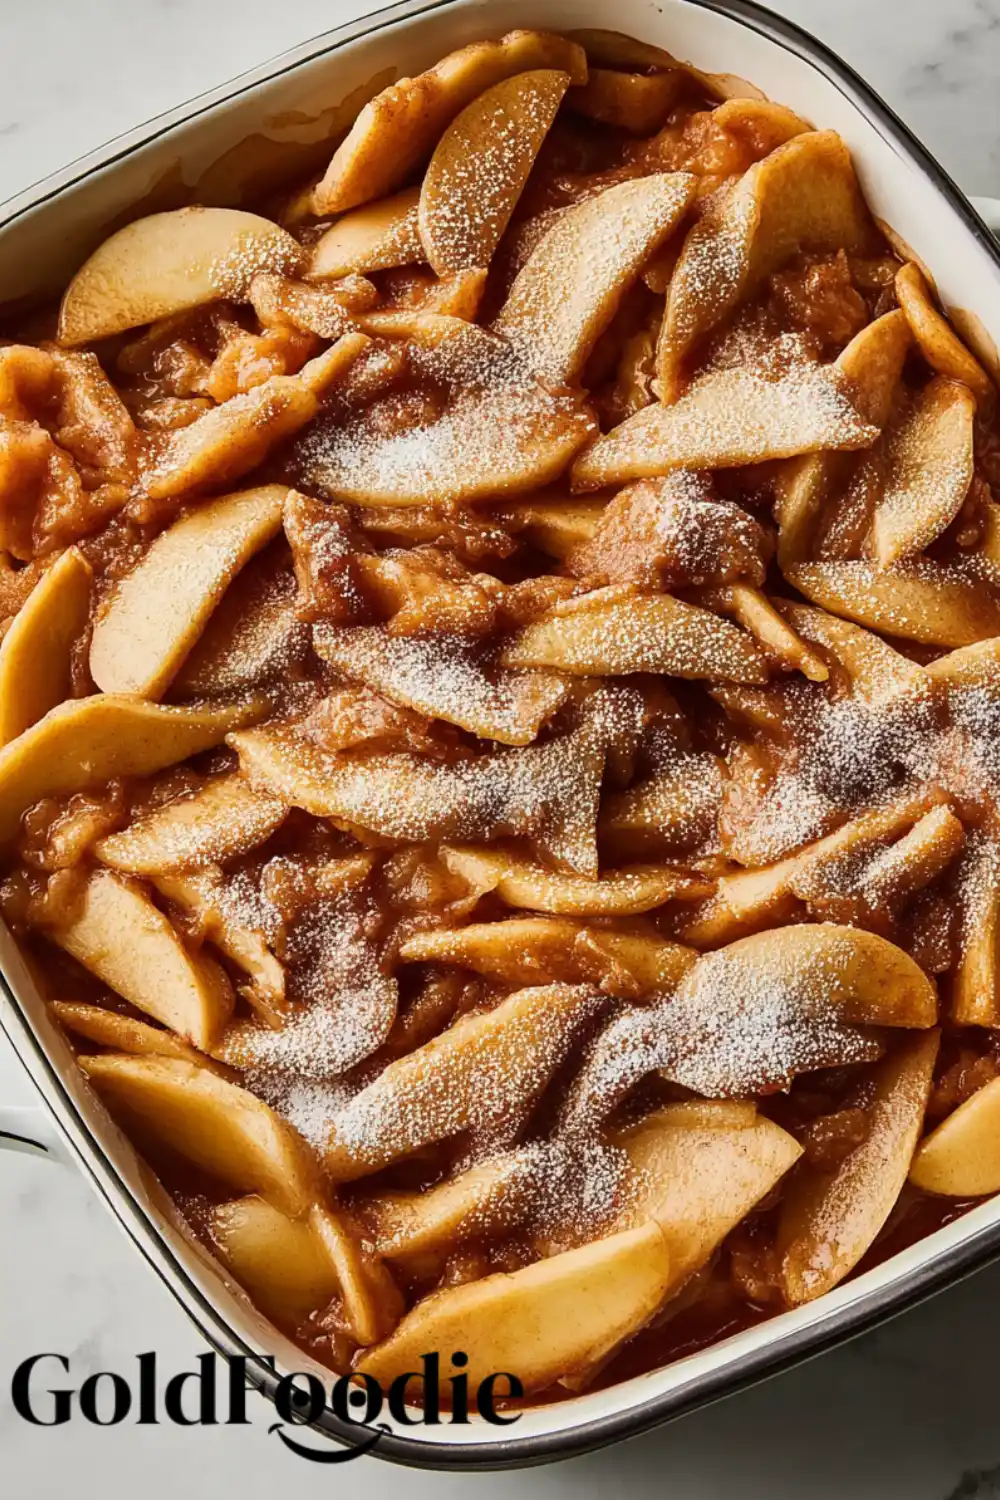
Equipment Used
- 9×13-inch baking dish
- Mixing bowls (1 large, 1 medium, 1 small)
- Vegetable peeler
- Sharp knife or apple slicer
- Measuring cups and spoons
- Wooden spoon or spatula
- Oven mitts
- Aluminum foil (optional for covering during baking)
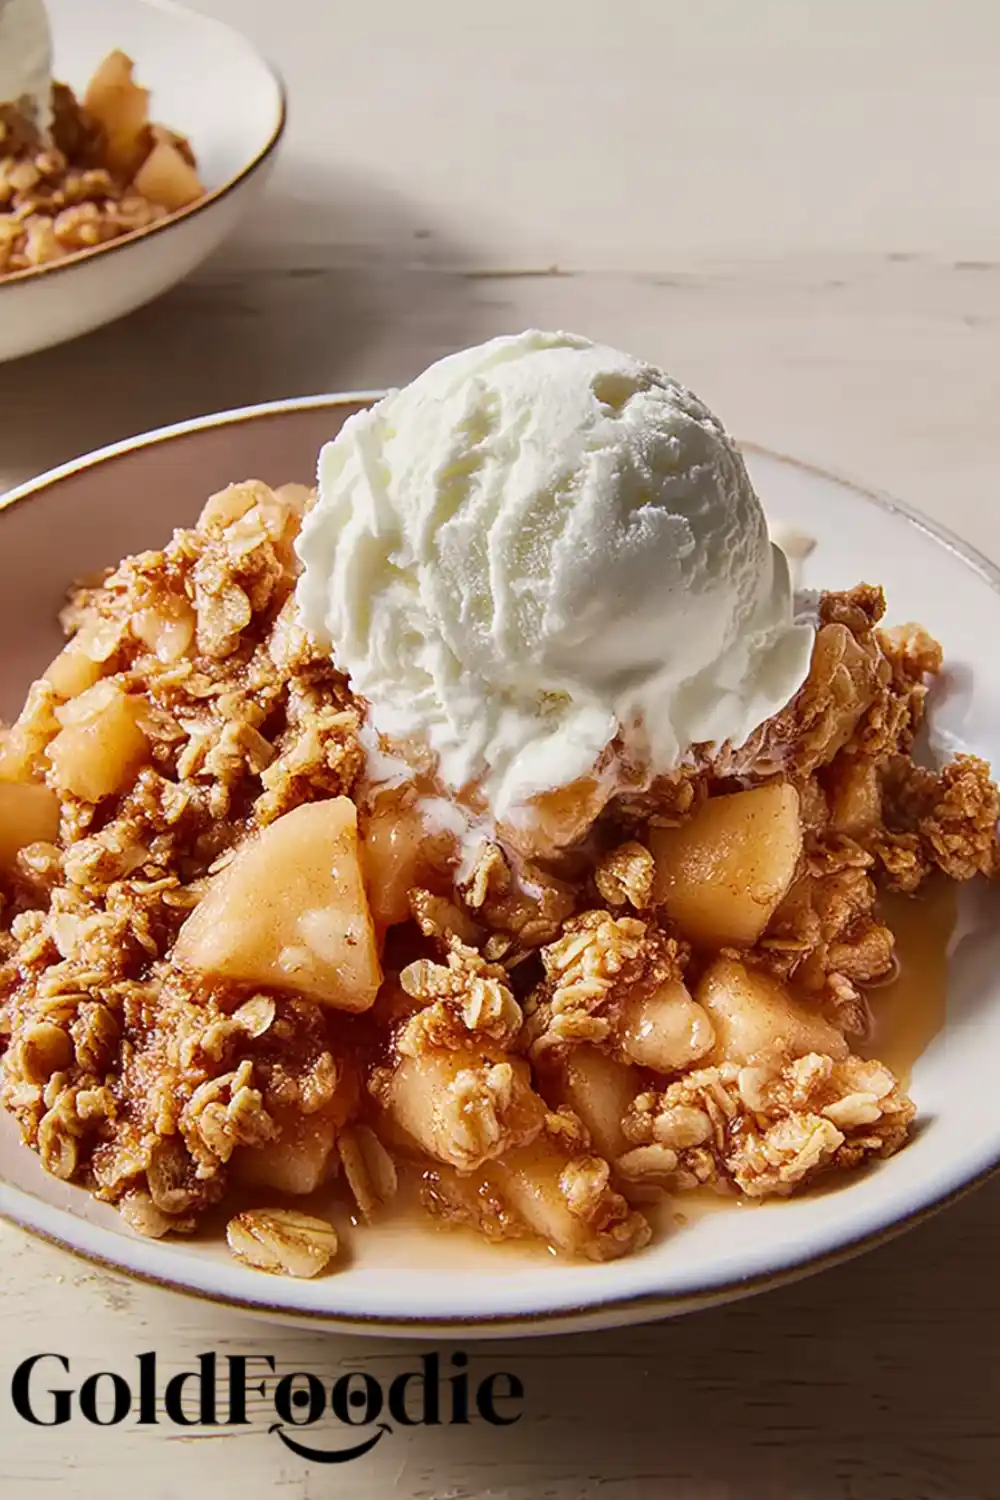
Old-Fashioned Apple Crisp
Ingredients
Method
- Preheat your oven to 350°F (175°C). Lightly grease a 9×13-inch baking dish.
- Peel, core, and slice the apples evenly. Place them into the prepared baking dish.
- In a small bowl, combine white sugar, 1 tablespoon of flour, and cinnamon. Sprinkle over the apples.
- Drizzle the apples with water to help create a light sauce during baking.
- In another bowl, mix oats, flour, brown sugar, baking powder, and baking soda. Add melted butter and stir until the mixture is crumbly.
- Evenly sprinkle the topping over the apple mixture without pressing down too hard.
- Bake uncovered for 40 to 45 minutes until the topping is golden and the apple mixture is bubbling.
- Allow the apple crisp to cool for at least 15 minutes before serving.
Notes
Nutrition Facts (Per Serving)
Calories: 320 | Total Fat: 12g | Saturated Fat: 7g | Cholesterol: 30mg | Sodium: 120mg | Total Carbohydrates: 52g | Dietary Fiber: 4g | Sugars: 34g | Protein: 2g Nutrition Disclaimer Nutritional information provided is an estimate and may vary based on the products and brands you use. Calculate the actual nutrition values using your preferred nutrition calculator and the exact ingredients you choose.Pro Tips for Success
Use cold butter for the topping
Cold butter creates small pockets of steam during baking, which leads to a crispier texture. Melted or soft butter can make the topping too dense or greasy.
Avoid overmixing the topping
The topping should stay crumbly, not smooth. Overmixing can turn it pasty and ruin the signature crunch of your apple crisp.
Slice apples evenly
Uniform slices help all the apple pieces cook at the same rate. This prevents some from turning mushy while others remain undercooked, giving you a perfectly balanced apple crisp every time.
Common Recipe Variations
Gluten-Free Apple Crisp
Swap the regular flour and oats with certified gluten-free versions. The texture and taste stay just as satisfying without the gluten.
Add chopped nuts for extra crunch
Mix in a handful of chopped pecans or walnuts with the topping. This adds a rich, nutty flavor and more texture to your apple crisp.
Make it in a slow cooker
Layer the apples and topping in your Crockpot. Cook on high for about 2 hours or low for 3 to 4 hours until the apples are tender and the topping is cooked through. It’s a great hands-off option for busy days.
Storing, Freezing, and Reheating Instructions
How to store leftover apple crisp
Let the dish cool completely. Cover it tightly with foil or transfer to an airtight container. Store at room temperature for up to 2 days or refrigerate for up to 5 days.
How to freeze apple crisp
Wrap the fully cooled apple crisp tightly with plastic wrap and a layer of foil or use a freezer-safe container. It can be frozen for up to 3 to 4 months. Label with the date so you don’t forget.
How to reheat apple crisp
For the oven, preheat to 350°F and warm the crisp uncovered for 15 to 20 minutes until heated through. For the microwave, heat individual portions in 30-second intervals until warm. The oven helps maintain the crunchy topping best.
Troubleshooting
Why is my topping soggy
This usually happens if the butter was too soft or the topping was overmixed. Use cold butter and mix just until crumbly to keep your apple crisp topping crunchy.
Why is my filling watery
Some apples release more liquid than others. Toss the sliced apples with a little flour or cornstarch before baking. This thickens the filling and gives your apple crisp a rich, syrupy texture.
Can I make this ahead of time
Yes. Prepare the filling and topping separately and store them in the refrigerator. Assemble and bake the apple crisp just before serving for the freshest texture.
What’s the difference between apple crisp and apple crumble
Apple crisp has an oat-based topping that becomes crispy when baked. Apple crumble usually has a streusel-style topping without oats and is more cake-like in texture.
Should I peel the apples
Peeling is recommended for a smooth, tender bite. Leaving the peels on can add a slightly chewy texture, which some people enjoy. It comes down to personal preference.
Frequently Asked Questions (FAQ)
What is the secret to a good apple crisp
The key is using the right apple variety, keeping the topping crumbly with cold butter, and balancing sweetness with warm spices. A small amount of flour in the filling also helps prevent it from becoming watery.
What is the difference between apple crisp and apple crumble
Apple crisp includes oats in the topping, giving it a crispy texture. Apple crumble skips the oats and has a denser, streusel-style topping.
How to make an easy apple crumble
Use sliced apples mixed with sugar and cinnamon, then top with a mixture of flour, butter, and sugar. Skip the oats for a classic crumble finish. Bake until golden and bubbly.
What are some common mistakes when making apple crisp
Using soft apples, overmixing the topping, or baking too short are the biggest culprits. Stick with firm apples, mix the topping gently, and bake until the apples are fully tender and the topping is golden brown.
Final Thoughts
This old-fashioned apple crisp brings together everything you want in a classic dessert. The apples stay tender without turning mushy. The oat topping stays crisp for days. And the special sauce prevents that dreaded watery filling. It’s simple, reliable, and full of cozy flavor.
If you tried this apple crisp, leave a comment and a star rating. We’d love to hear how it turned out for you. Don’t forget to share your photos on Pinterest or Facebook.
What apples did you use? Did you add nuts or go gluten-free? Let us know your twist in the comments below.
High-Protein Nutrition Specialist and Wellness Advocate with over a decade of experience.
My human-first approach blends science-backed guidance with real-life empathy, shaped by my own journey through fatigue and muscle loss. Today, I help people reclaim strength, energy, and confidence through high-protein nutrition that’s both practical and empowering.


Yummyyyy